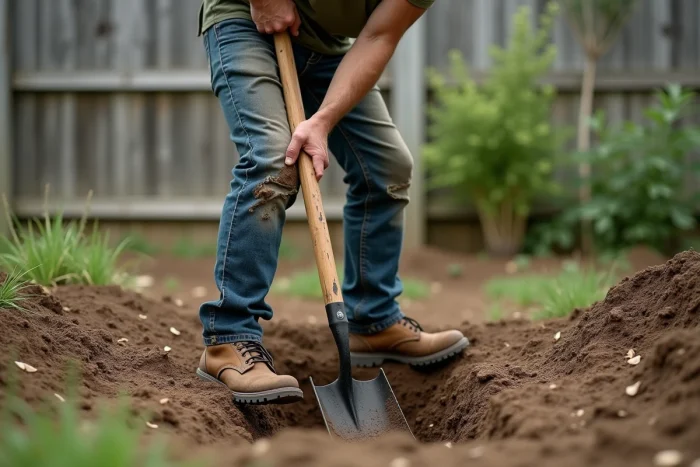
How to Use a Shovel to Dig a Hole Effectively: Tips and Practical Methods
A compact clay soil in the middle of summer, a stony ground at the back of the garden, a waterlogged area after three days of rain: each digging situation requires different techniques and tools. The shovel remains the basic tool for digging a hole, but its effectiveness primarily depends on the preparation of the ground and the technique used.
Check for buried utilities before planting the shovel
We rarely think about pipelines when digging a hole for a fence post or a shrub. However, the DT-DICT reform (articles R554-1 and following of the Environmental Code, reinforced by decrees in 2021-2022) imposes an obligation of caution, even for individuals.
Before any shoveling, consulting the online service reseaux-et-canalisations.gouv.fr allows you to locate gas, water, or electrical cables under your land. For a shallow hole in a private garden, the process remains simplified, but it prevents a serious accident or a hefty repair bill.
If you know you will use a shovel to dig a hole near a meter, a manhole, or a roadway edge, caution dictates that you manually dig the first few centimeters and identify any suspicious elements (colored casing, unusual backfill sand) before going deeper.
Prepare the soil the day before to reduce digging effort
A dry clay soil can double the working time. The technical guide from the Metropolis of Lyon on small excavations (2023 version) recommends a light watering 12 to 24 hours before digging for very dry clay soils. The goal is to soften the earth without turning it into sticky mud.
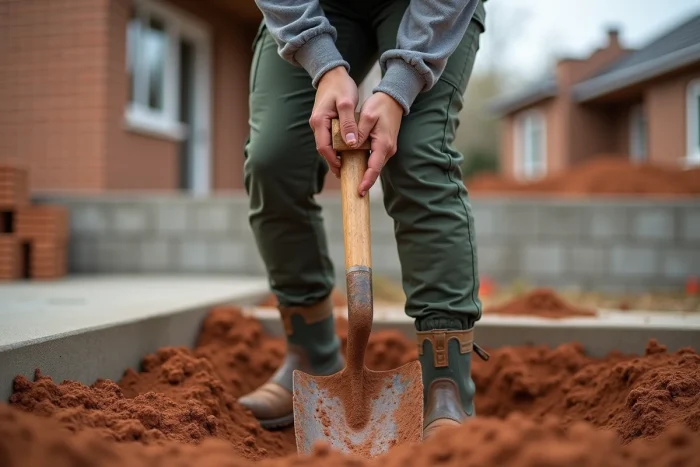
Specifically, you water the area with a hose for a few minutes, then let the water soak in overnight. The next day, the shovel penetrates the soil with significantly less resistance, and the clumps break apart more easily.
For sandy ground, this prior watering is unnecessary: sand can be dug easily when dry. However, if it is too wet, it collapses in on itself. In this case, you can slightly widen the hole to compensate for lateral collapses.
Adapt the tool to the type of soil
The round shovel (also known as a digger’s shovel) is suitable for most loose soils and garden earth. For compact or stony soil, a square shovel or spade provides a better cutting edge and allows you to cut the earth into clean blocks.
- Compact clay soil: prefer a spade or a narrow-bladed shovel, which penetrates more easily without forcing on the handle.
- Sandy or loose soil: the classic round shovel is sufficient, but keep a bucket or wheelbarrow nearby to remove the sliding earth.
- Stony soil: a pickaxe to break the hard crust on the surface, then a shovel to clear the debris. Alternating the two tools preserves the blades.
- Narrow and deep hole (post, stake): a manual auger or a double-blade post shovel allows you to go down straight without unnecessarily widening the diameter.
Shoveling technique: movements and posture
Most back pain related to digging comes from poor ground support and a twisting motion of the torso. Push the blade with your foot, bend your knees to lift, and pivot with your legs rather than your back: these three principles reduce the load on the spine.
You start by cutting a square or circle on the surface, driving the shovel vertically around the entire perimeter of the hole. This cutting step prevents the earth from crumbling beyond the desired area.
Digging in successive layers
Starting deep right away is counterproductive. First, remove a layer of earth over the entire surface of the hole (a blade’s depth, about twenty centimeters), then start again.
Storing the surface soil separately has a practical benefit: if the hole is intended for planting, this humus layer will be put back in contact with the roots when refilling. The bottom soil, often more clayey or stony, will serve as a base.
For a deep hole (fence post, light foundation), the difficulty increases as the shovel goes down: the space reduces, the leverage decreases. After a certain depth, switch to a long-handled shovel or an auger to continue without widening the hole.
Managing fatigue on a prolonged digging site
Digging several holes in succession (for a fence, for example) quickly turns a simple task into a physical trial. The Health Insurance – Occupational Risks indicates, in a 2022 summary on musculoskeletal disorders, that alternating every 20 to 30 minutes between different tasks (digging, removing earth, marking the next locations) significantly reduces the risk of MSD in the back and shoulders.
On-site, it is observed that this rotation also works for pure efficiency: after an active break, the first shovelfuls are more precise and powerful than after forty minutes of continuous digging.
- Have a water source within reach and drink regularly, especially in hot weather.
- Use suitable gloves (leather or reinforced synthetic) to avoid blisters that slow down work after the second hole.
- If the number of holes exceeds ten, consider renting a power auger or a mini-excavator, which quickly pays off in time and effort.
Knowing when the shovel is no longer enough
Opinions vary on this point, but beyond six to eight holes of average depth in hard soil, the time-saving of a powered tool becomes clear. The power auger digs a post hole in a few dozen seconds, whereas the manual shovel takes several minutes per hole.
For a single hole in a garden, the manual shovel remains the simplest, quietest, and least expensive choice. The right tool depends on the number of holes and the nature of the soil, not on an abstract preference for manual or powered. Assessing the site before starting prevents exhausting yourself on a task that could have been completed in a fraction of the time.