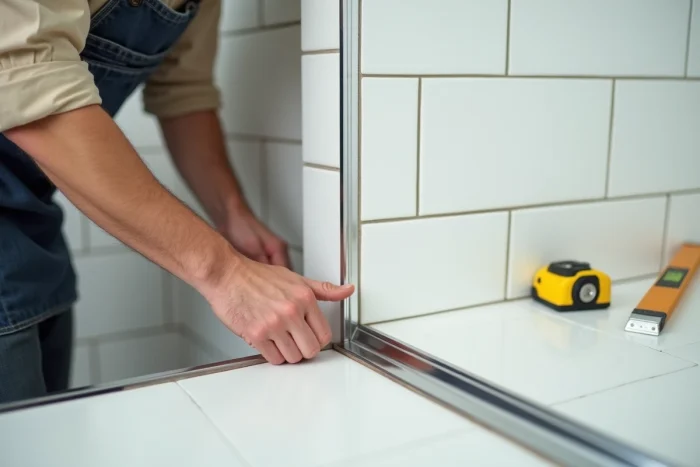
Tips and advice for choosing the right finishing strip for tile corner edges
A finishing strip for an external tile corner is a rigid profile that covers the sharp edge formed by two tiles laid at a 90-degree angle. Without this protection, the edge of the tile remains exposed to impacts, chipping, and water infiltration. The material, thickness, and installation method of this profile determine both the strength of the corner and the overall visual appearance.
Tile Thickness and Profile Compatibility
The first step before any purchase is to measure the actual thickness of the installed tile, including adhesive. Most profiles are made for standard thicknesses, but a difference of one or two millimeters is enough to create a visible offset between the surface of the tile and the top of the profile.
A profile that is too thin allows the tile to protrude, which negates the edge protection. A profile that is too thick creates an unsightly overhang and a ledge where dirt accumulates. The profile’s measurement must exactly match the thickness of the tile plus the adhesive.
For large-format porcelain stoneware, the thickness often reaches one centimeter or more. Entry-level profiles designed for thin wall tiles are not suitable. Checking the technical data sheet from the profile manufacturer remains the most reliable method before choosing a finishing strip for an external tile corner suitable for your project.
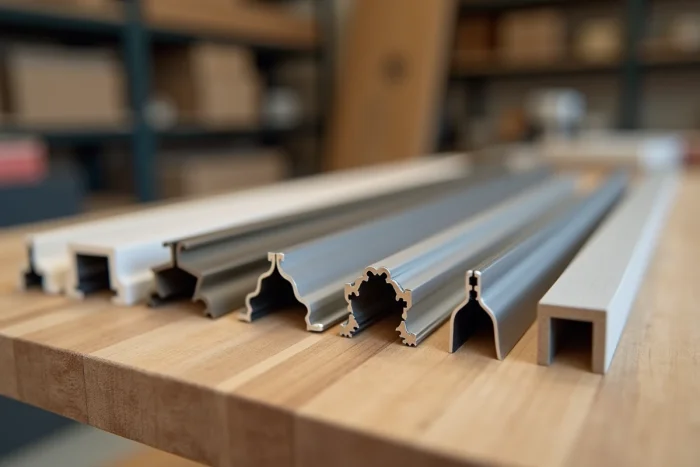
Stainless Steel, Aluminum, or PVC: Which Material for an External Corner
The choice of material determines the durability, price, and final appearance of the profile. Three families dominate the market, each with specific limitations.
Aluminum Profile
Anodized aluminum is the most common material. Lightweight, corrosion-resistant, and available in several finishes (brushed, chrome, matte), it adapts to most rooms. Its main drawback: shiny finishes scratch easily when cleaned with abrasive sponges.
Stainless Steel Profile
Stainless steel offers superior resistance to moisture and chemicals. For a walk-in shower or kitchen countertop, it is the most durable material. The additional cost compared to aluminum is justified in areas exposed to standing water or grease splashes.
PVC Profile
PVC remains the cheapest option. It cuts easily with a utility knife and can be installed without specific tools. Its flexibility accommodates minor irregularities in the substrate. However, it yellows over time due to UV exposure and does not handle heat well. PVC is suitable for dry areas with little sun exposure, such as a pantry or hallway.
- Anodized aluminum: versatile, good value for money, sensitive to scratches on shiny finishes
- Stainless steel: ideal in humid environments or kitchens, more expensive but highly resistant to corrosion
- PVC: economical and easy to install, not recommended in humid areas or exposed to UV
Common Installation Mistakes on an External Tile Corner
The external corner strip is installed during tiling, not afterward. This is the most common source of error. The profile has a perforated wing that must be embedded in the adhesive, under the adjacent tile. Gluing a profile on the surface after drying does not guarantee adhesion or waterproofing.
The perforated wing of the profile is embedded in the adhesive mortar before the tile is laid. Without this step, the profile may eventually come loose due to vibrations or repeated impacts.
Another trap: cutting the profile too short. The corners of a room are almost never perfectly straight. Allowing for a few millimeters of margin and adjusting as you go prevents visible joints between two lengths of profile.
Joining Two Lengths of Profile
On an external corner that exceeds the standard length of a profile (often 250 cm), two pieces must be joined. The joint should fall in the middle of a tile, never at a tile joint. Placing the cut at this location makes it nearly invisible once the tile joint is completed.
Finishing the Joint Around the Corner Profile
The joint between the profile and the tile deserves as much attention as traditional joints. On an external corner in a humid area, a flexible silicone joint absorbs micro-movements of the substrate without cracking. A rigid cement joint is better suited for dry areas where temperature variations are minimal.
The thickness of the joint must remain consistent along the entire length of the profile. A joint that is too thick draws attention and gives an unrefined, handmade appearance. Using tile spacers along the profile during installation maintains a constant gap.
- Humid area (shower, kitchen backsplash): flexible silicone joint, preferably fungicidal
- Dry area (hallway, living room): standard cement joint, easier to smooth
- Exposed external corner (central island, low wall): reinforced silicone joint, combined with a thick stainless steel or aluminum profile
Choosing a profile suitable for the thickness of the tile, made from a material consistent with the room’s use, and installed correctly (wing embedded, well-placed joints) is enough to achieve a clean and durable external corner. The detail that makes the difference is the finishing joint: its nature and regularity determine the final appearance much more than the profile itself.